Altered Paint Cans
by Emily Giovanni
Perfect gift packaging every time.
Supplies

- Paint can
- Patterned paper
- Sticky Strip™ or other double-sided, extra-tacky tape
- Coluzzle™, other cutting system, or circle punch
- Ribbon, flowers, embellishments (Optional)
Step-by-Step
Step 1
Cut patterned paper to the fit the paint can.
Depending on the size of your can, two strips may be needed to cover the entire surface.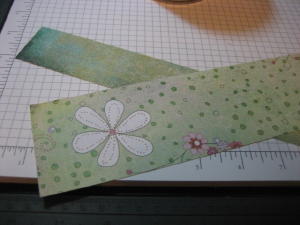
Step 2
Apply Sticky Strip™ to all edges of paper's reverse side.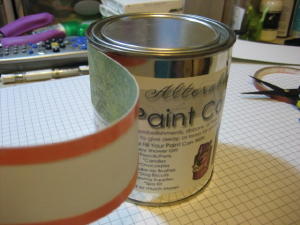
Step 3
Remove liner from adhesive and apply to can, lining up the paper's edge with the top of the can. Remove adhesive liner as the paper is wrapped around the can.
If two strips were needed to go around can, do the same with the second strip.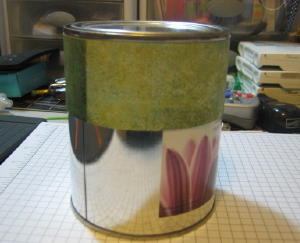
Step 4
Apply Sticky Strip™ to paper for bottom of can. Line up this strip where the first seam was. Wrap paper around the can, lining the edge up with the bottom edge of the can.
If two strips were needed to go around can, do the same with the second strip.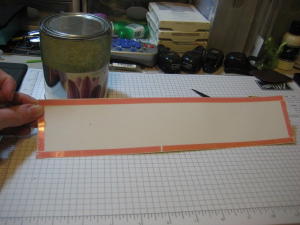
Step 5
Cover the middle seam with ribbon or other embellishments. Adhere with Sticky Strip™ or glue dots to ensure embellishments will not pop off.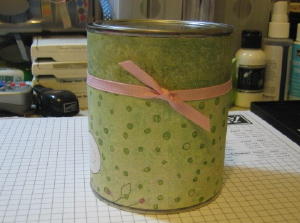
Step 6
Complete can. For this small lid, a Marvy Uchida™ Giga Scalloped Circle was adhered with Sticky Strip™. This can was finished with a L'il Davis® chipboard letter on dimensionals.Spilt Coast Stampers.com
No comments:
Post a Comment