Sewing on Cards
by Lori Craig
Use your sewing machine to add interest to paper creations.
Supplies
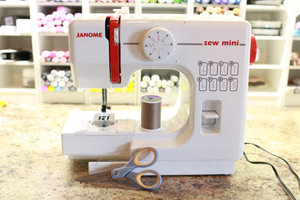
- Sewing machine (Janome
Sew Mini) used here
- Thread Upholstery thread is a thicker thread that looks nice and
holds tension well against cardstock and patterned paper.
- Cardstock
- Stamps, Embellishments, as desired
Step-by-Step
-
Step 1
Winding the bobbin: As you are facing the front of the machine, place spool of thread on the spool pin at the back right corner of the machine. Place so that thread is coming off of the spool from the right side and lays in front of the spool as you pull it toward the thread guide on the back left side of the machine.
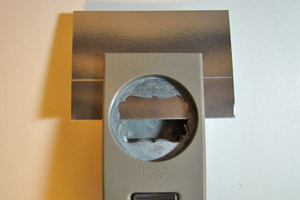
Here's a guide to help you identify the parts of the sewing machine referenced in this tutorial.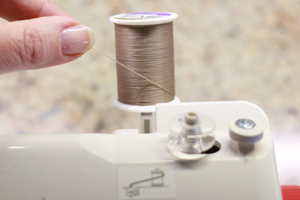
-
Step 2
Bring the thread into the upper thread guide and pull into the notch in the middle of the thread guide.
-
Step 3
Place empty bobbin onto bobbin winder spindle.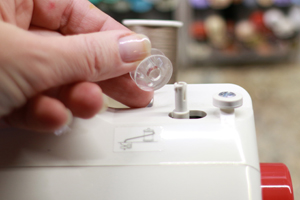
-
Step 4
Snap bobbin into place on bobbin winder spindle.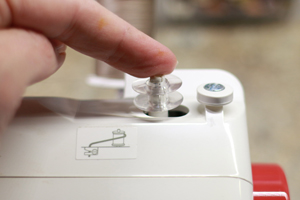
-
Step 5
Place thread under the bobbin winding tension disc and pull gently toward the bobbin on the bobbin winding spindle.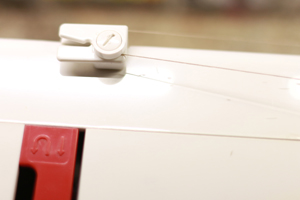
-
Step 6
Bring the loose end of the thread up thru the hole in the top center of the empty bobbin.
-
Step 7
Slide bobbin winder pin to the right to lock it into place. Notice slight difference in bobbin position in the Step 8 photo. This engages the bobbin winding mechanism.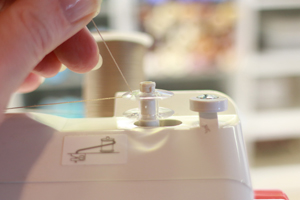
-
Step 8
Hold thread directly above the empty bobbin as shown.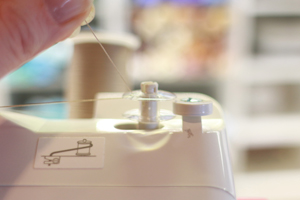
-
Step 9
Continue holding thread above the bobbin and gently press the pressure foot to start the winding process.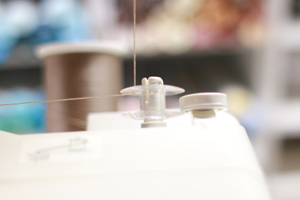
-
Step 10
Thread will fill the empty bobbin until you stop pressing the pressure foot or until it fills enough to hit the stop guide to the right of the bobbin winder pin. If you are filling the bobbin with a neutral color, you might as well fill it up. If it's a color you will only use a few times, a partial fill of bobbin thread is fine.
When the bobbin is filled to desired amount of thread, snip the thread between larger spool and bobbin. The stopper wheel to the right of the bobbin winding spindle will stop the bobbin from over filling if you reach that point, so no need to worry about that. Remove the threaded bobbin from the bobbin winding spindle.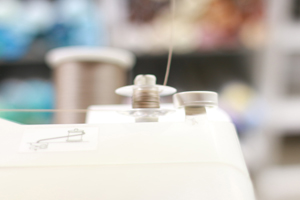
-
Step 11
Threading the needle: Bring thread from the back spool pin through the upper thread guide.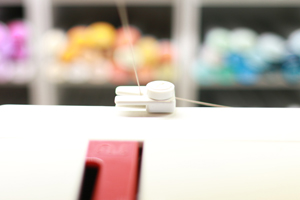
-
Step 12
Pull the thread gently forward to the right side of the red casing that holds the thread take up lever. Pull the thread all the way down, wrap to the left of the red casing and bring it back up to the silver thread take up lever.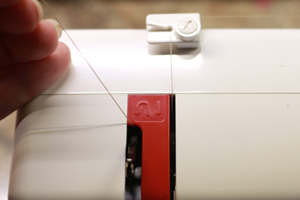
-
Step 13
Push thread through the thread take up lever from right to left.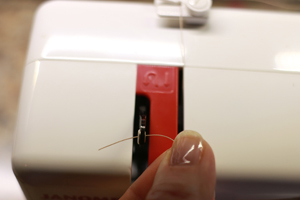
-
Step 14
Pull thread straight down towards the sewing needle mechanism.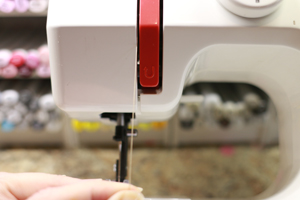
-
Step 15
Gently push thread to the left back side of the needle bar thread guide and tuck it behind the black guide.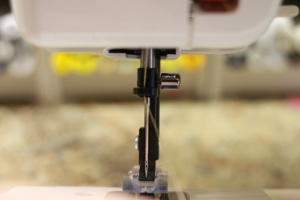
-
Step 16
Make sure that the presser foot and needle are raised using the toggle to the backside, right of the presser foot to raise and lower. Push thread through the eye of the needle from front to back.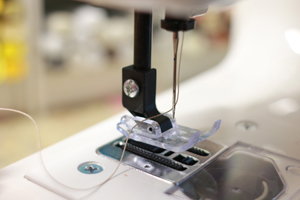
-
Step 17
Loading the bobbin: Remove the clear hook cover plate and set the bobbin in front of opening with the thread coming off of the bobbin on the back left side.
-
Step 18
Holding the end of the bobbin thread in your left hand, slide bobbin into the machine.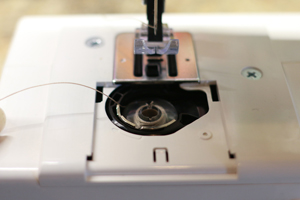
-
Step 19
Gently guide the bobbin thread around the hook in the front of the bobbin holder casing and pull thread taut to the left.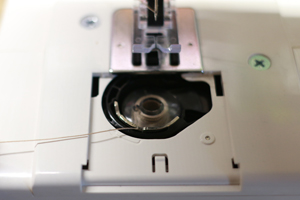
-
Step 20
Still holding the thread taut with your left hand, replace the clear cover.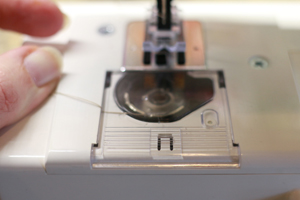
-
Step 21
Holding both the bobbin thread and the main spool thread in the left hand, gently turn the red handwheel on the far right side of the machine to lower the needle through the silver needle plate.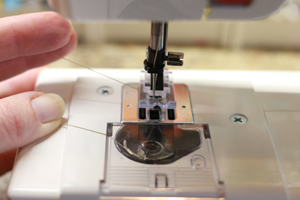
-
Step 22
The top thread will drop into the bobbin casing and 'catch' the bobbin thread. Keep light pressure on the bobbin thread in your left hand and continue turning the handwheel on the right side of the machine.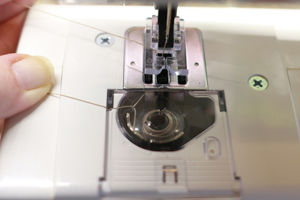
-
Step 23
When the bobbin thread loops up on top of the needle plate, use the nose end of a pair of scissor to catch the loop and pull the bobbin thread to the left of the machine.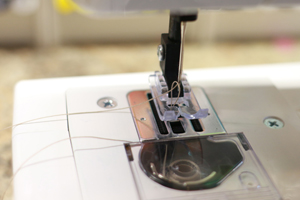
-
Step 24
Hold both the top thread and the bobbin thread to the left.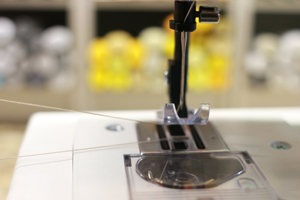
-
Step 25
Stitching on cardstock: Insert your cardstock under the presser foot, align the needle and drop the presser foot.
This is a piece of kraft cardstock being sewn to a slightly larger mat of white cardstock.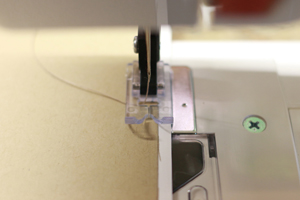
-
Step 26
Lower your needle through the cardstock using the hand wheel, and you are ready to begin sewing by applying pressure to the presser foot. The Sew Mini only has one speed, so it's great for beginners and paper crafting.
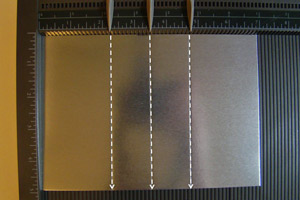
Tip for straight lines: Resist the urge to watch your needle as you stitch. Keep your attention to points A & B. "A" refers to where the edge of paper should always rest in comparison to a specified point on the sewing machine. You may use the edge of the presser foot or create a different stitch distance from the edge of the paper with a piece of tape or other point of reference. "B" is the space in front of the presser foot. It is helpful to watch where you will be sewing, opposed to where the needle is currently working.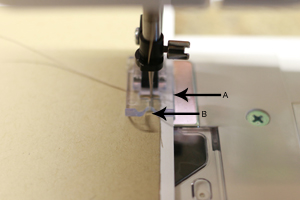
-
Step 27
Steadily stitch your way to the corner of your cardstock. When you approach the corner, use the hand wheel to stitch right up to the corner. With the needle in the up position, you can manipulate the paper just a bit either forward or back to make sure your 'corner' turn point is at the same margin you have already created with your straight line stitching.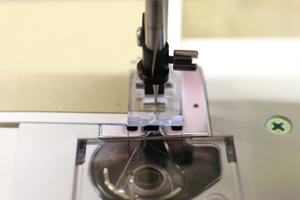
-
Step 28
With your needle in the down position, through the layers of cardstock, raise the presser foot and rotate your cardstock 90 degrees (or as desired).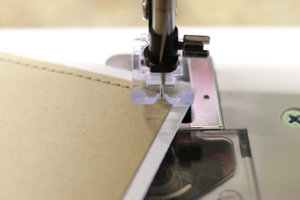
-
Step 29
Drop the presser foot and continue stitching around your project, as desired.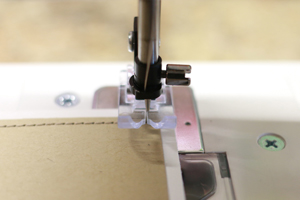
-
Step 30
When you have completed the desired stitching, raise the needle using the handwheel, raise the presser foot using the back lever and pull project gently from the stitching area. Snip the project from the machine, leaving 4-5" of thread tail on both the machine needle and the bobbin threads so that the machine is ready for your next use. Trim the threads on the project, close to the paper, leaving no tails.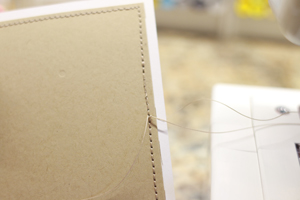
-
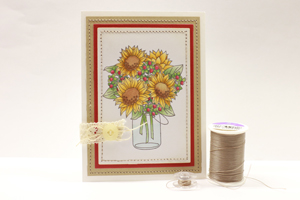
Step 31
Finish card, as desired. Sunflower Bouquet from Taylored Expressions and Copic Marker used here.