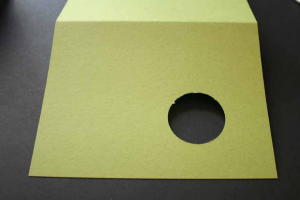
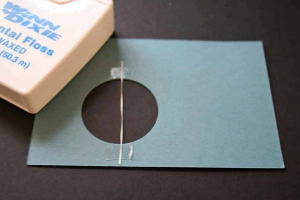
Dimensions 5.50 by 4.25
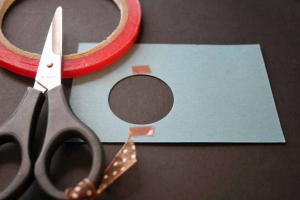
Cut back card stock at 5.25 by 4.00
Cut white card stock at 5.00 by 3.85
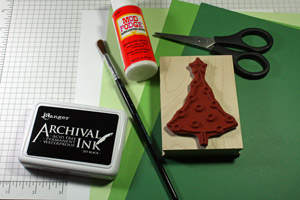
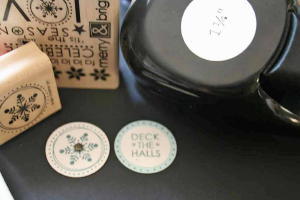
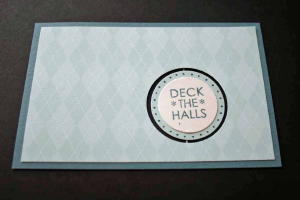
Stamp with weave back ground stamp in blue on white card
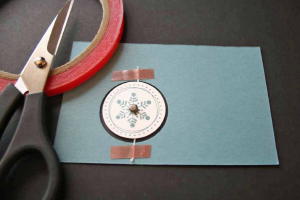
Cut blue card stock at 3.50 by 2.00
Cut black card stock at 3.25 by 1.85
White card stock cut at 3.00 by 1.50
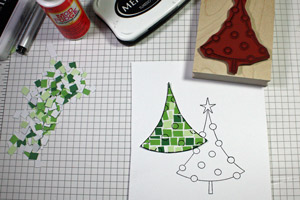
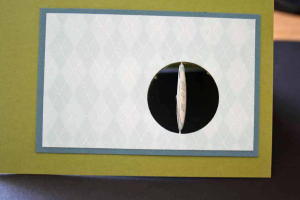
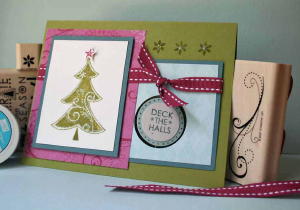
Stamped with stampin up stamp set called Big On Christmas
Stamped the set one more time and fuzzy cut out snowman head and hat
Hand colored
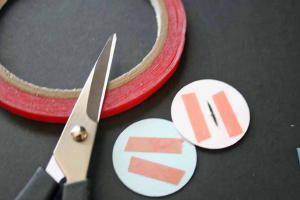
Ribbon and stapled on card