Quarter Fold Card
by Jana O’Brien
From Split Coast Stampers.com
Create a unique card with a box-top closure.
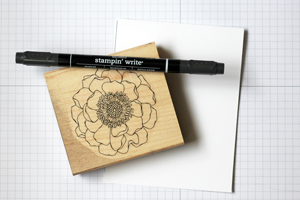
Supplies
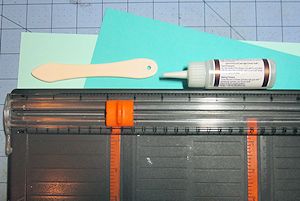
- Paper trimmer
- Scoring tool
- Cardstock (2 sheets in coordinating colors, and smaller pieces for
layering)
- Glue
- Other supplies as needed to complete the card
Step-by-Step
-
Step 1
Trim a piece of cardstock to 4 1/4" x 11".
This will be the back piece of the card.
-
Score along the long side at 2 3/4" and 8 1/4".
(Alternative: score at 2 3/4" then turn cardstock and score at 2 3/4" from the other end.)
TIP:
Score again slightly outside the 2 score measurements on both pieces of cardstock for a better fit.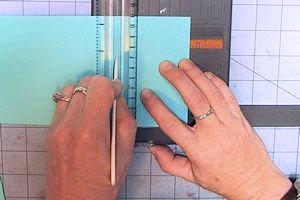
-
Step 2
Trim the second piece of cardstock to 5 1/2" x 8 1/2".
This will be the front piece of the card.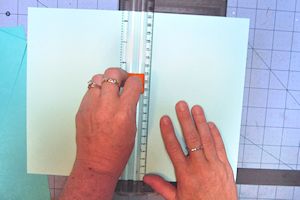
-
Score along the long side at 2 1/8" x 6 3/8".
(Alternative: score at 2 1/8" then turn cardstock and score at 2 1/8" from the other end.)
TIP:
Make this piece a lighter color so it’s easier to stamp or write on the inside of the card.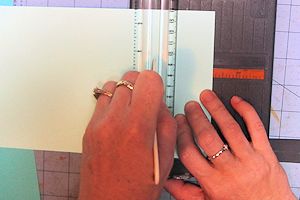
-
Step 3
Adhere the 2 pieces of cardstock together, lining up edges with score lines.
TIP:
Use a liquid glue to allow for adjustments in placement.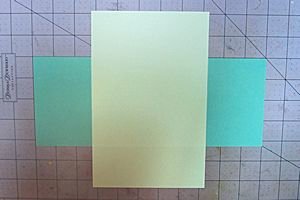
-
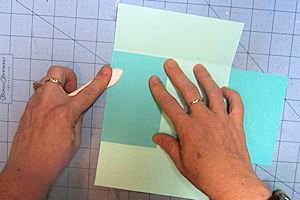
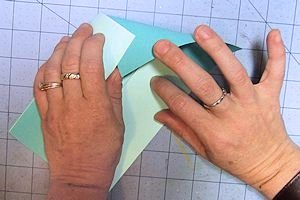
Fold both ways at each score line. Folding toward the opposite color first will give the panels enough room to close well without interfering with each other.
-
Step 4
Fold the card closed as you would close the top of a packing box. Fold in the left side, fold up the bottom, fold in the right side, then tuck the left corner of the top flap underneath the left side panel.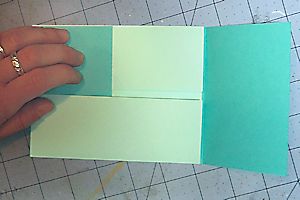
-
-
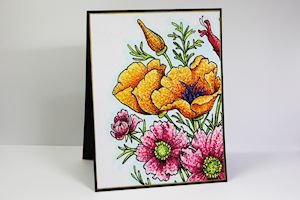
Step 5
The folded card should lay flat and look like this.
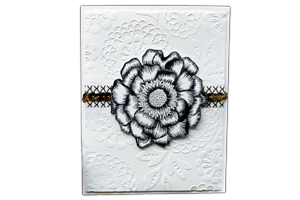
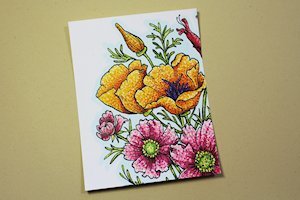
Decorate the front of the card as desired. The card can be horizontal or vertical.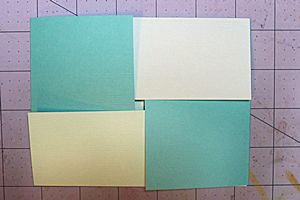
-
To make layers for the four quarters cut 2 pieces of cardstock to 2" X 2 1/2" and 2 pieces of cardstock to 1 7/8" X 2 5/8". Cut a 4" x 5 1/4" panel for the inside if desired.
-
Step 6
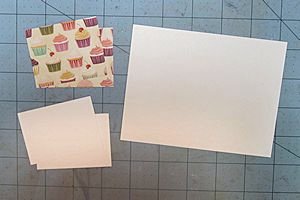
Complete the card.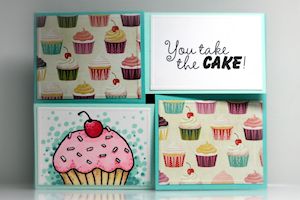
-
Decorate the inside if desired - maybe tuck in some cash or a handful of confetti!
Finished card fits in a standard A2 envelope.