Wednesday, July 30, 2014

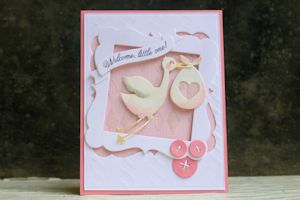
How to Make Bendi Frame Card

Bendi Frame Card

by Kittie Caracciolo


Give your card dimension and create more room for a layered scene with a curved frame front.
Inspired by Bibiana's Bendi Fold tutorial.

Supplies
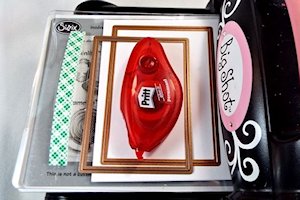
  • Cardstock for card base, cut to 5 3/8" x 8 1/2" and folded in half
  • 2 cardstock layering panels, cut to 5 1/2" x 4 1/4" and 5 1/4" x 4"
  • 2 rectangle nesting dies, 1/4" different in size. (Spellbinders Matting Basics A and B used here)
  • Die cutting machine and magnetic platform (Sizzix brand used here) or low-tack tape to keep dies in place
  • Adhesive
  • Foam mounting tape
  • Dies, stamps and other accessories as needed to complete the card (used here: Impression Obsession Fir Tree stamp, Bunny & Grass Border dies; Memory Box Small Alder tree die; Sizzix Accessory Tool Kit; Inkssentials Ink Blending Tool; Sofft Mini Applicator; Vintage Photo, Tumbled Glass, & Peeled Paint Distress Inks; Dark Brown & Pale Olive Copic Markers; 1/8” circle punch, deckle scissors, hand cut cloud template, Glossy Accents, cardstock - white, olive, pink)

Step-by-Step

  1. Step 1

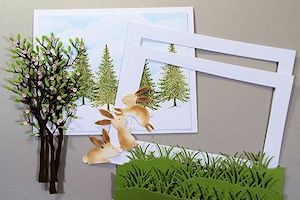
    Cut card base and cardstock panels as instructed above, and prepare layers as desired. Here, the base panel has been stamped and die cuts have been colored and assembled in preparation for creating a scene.
  2. Step 2

    Die cut an opening in the 5 1/2" x 4 1/4" cardstock panel using the largest rectangle die.
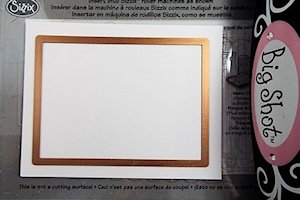
  3. Repeat this step with the smaller cardstock and smaller die to create the mat for the double matted frame.

    NOTE:

    If you don’t have a magnetic platform, secure the die in place with small pieces of painter's tape or removable Post-it tape.
  4. Step 3

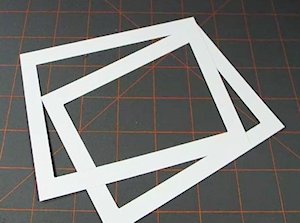
    Apply adhesive to the back of the largest frame.
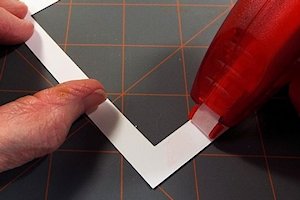
  5. Line up larger frame over the top of the smaller frame and attach.
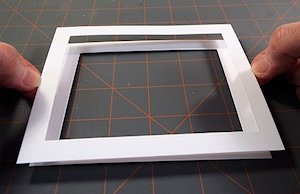
  6. Step 4 (Optional)

    Apply adhesive to the back of the double matted frame.
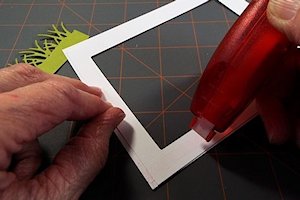
  7. Apply grass border to the back of the frame.
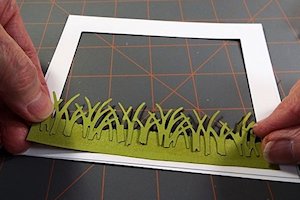
  8. Step 5

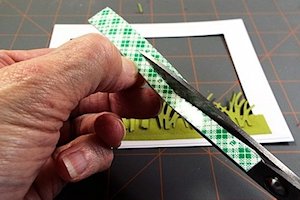
    Cut two thin strips of mounting tape 4 1/8" long.
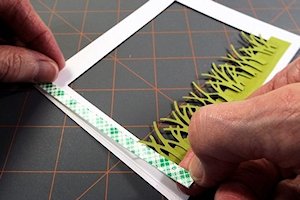
  9. Attach mounting tape to the back of sides of the frame.
  10. Step 6

    Line up one side of the frame over the decorated and assembled card base and secure the tape in place.
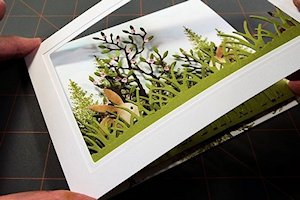
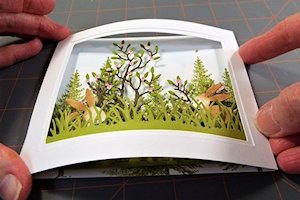
  11. Hold the secured side of the frame and base in place. Push the other side of the frame in to line up with the edge of the card base and secure in place.
  12. Step 7

    Assemble and complete the card.

    NOTE:
    To protect the dimensional elements of the card, mail in a plastic box inside a padded envelope.
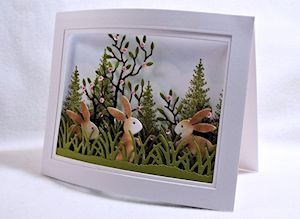
From Split Coast Stampers.com


Thursday, July 17, 2014

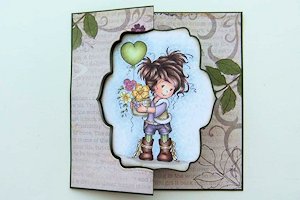
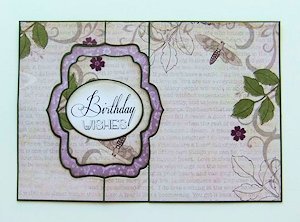
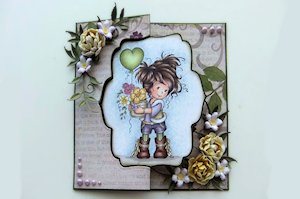
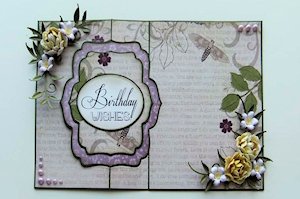
Swing Card


Die Cut Swing Card

by Norma Lee
Create a swing card using a shape or label die.

Supplies

  • Cardstock cut to 8 1/4" x 5 1/2"
  • Designer paper cut to 8 1/4" x 5 1/2"
  • A shape die template (Spellbinders Labels Five used here)
  • Die cutting machine
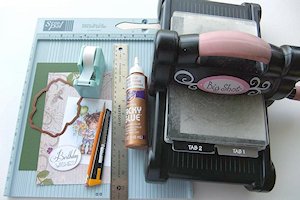
  • Scoring board
  • Removable or low-tack tape (3M Scotch used here)
  • Pencil, ruler and craft knife (or paper trimmer)
  • Adhesive (craft glue used here)
  • Other supplies as needed to finish the card

Step-by-Step

  1. Step 1

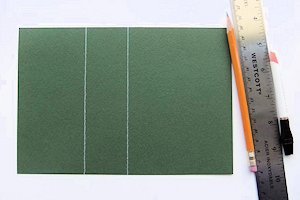
    On the 8 1/4" x 5 1/2" cardstock, lightly pencil 2 vertical lines at 2 5/8" and 4 1/4" (white pencil used here for better viewing). Set cardstock aside.
  2. Step 2

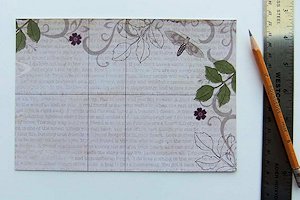
    On the 8 1/4" x 5 1/2" designer paper, lightly pencil 2 vertical lines at 2 3/4" and 4 1/8" and a horizontal line midway at 2 3/4".
  3. Step 3

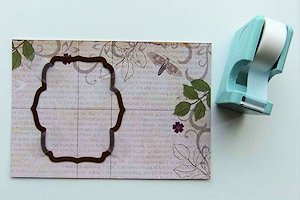
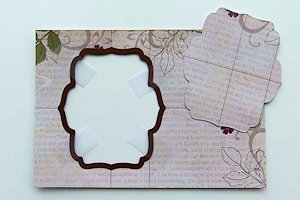
    Center the die around the cross formed by the horizontal line and the first vertical line as shown. Secure in place with 3 or 4 pieces of removable tape.
  4. Step 4

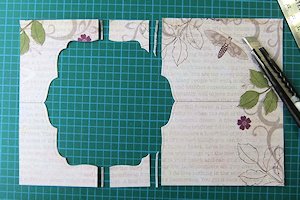
    Die cut the paper. DO NOT remove the tape pieces or the die itself, but remove the die cut piece from the center leaving a window on the designer paper.
  5. Step 5

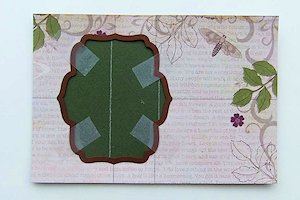
    Place the designer paper exactly on top of the cardstock, lining up the paper edges. Secure in place with the removable tape pieces that are already there.
  6. Step 6

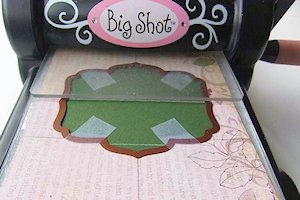
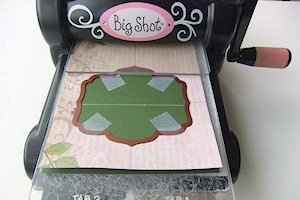
    With the die blade-side down, place the papers between the two cutting plates. Ensuring that edge of the top cutting plate is lined up along the 2 5/8" vertical line (drawn in Step 1 above) as shown, run the sandwich through the die cutting machine.
  7. Step 7

    Now turn the papers around 180 degrees and repeat Step 6, this time with the edge of the top cutting pad up lined up along the 4 1/4" vertical line.
  8. Step 8

    Remove the die and tape pieces from the papers.

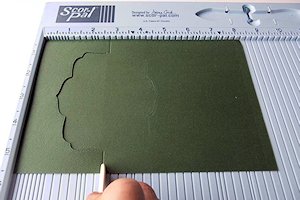
    Place the cardstock upside down on the scoring board and score at 2 3/4" as shown, from the paper edges to the die-cut lines only. DO NOT score in the middle part.
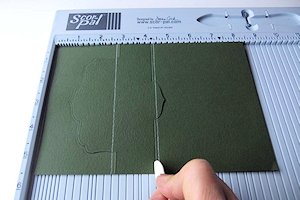
  9. Step 9

    Turn the cardstock right-side up and score at 4 1/8", from the paper edges to the die-cut lines only. DO NOT score in the middle part.
  10. Note:
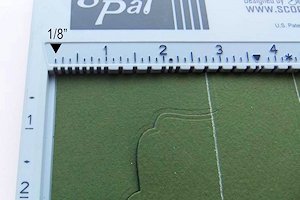
    If using the Scor-Pal, place the left edge of the paper at the 1/8" mark and score at 4 1/4" as shown.
  11. Step 10

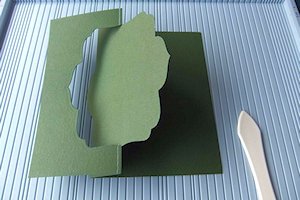
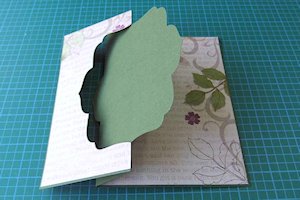
    Valley-fold and mountain-fold the cardstock as shown.
  12. Step 11

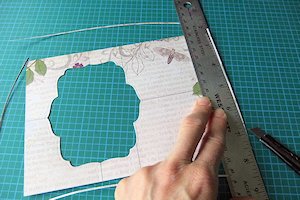
    To create a narrow border around the outside of the designer paper, trim off about 1/16" from each of the four sides using a craft knife and a ruler, or a paper trimmer.

  13. Also trim at both sides of the vertical lines as shown.
  14. Step 12

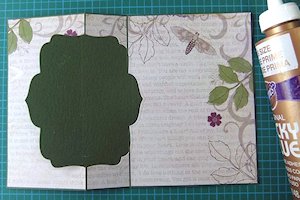
    Glue the designer paper pieces to the cardstock. Erase all pencil lines.

    TIP:
    Any sticky residue from the removable tape can also be rubbed off with the eraser.
  15. This is how the card base should look when closed.
  16. Step 13

    Adhere images and/or sentiments to both sides of the swing panel.

  17. Step 14

    Embellish as desired to complete the card.

Video!

From Spilt coast stampers.com

Saturday, July 5, 2014

Rubber Cement thinner and other tips

Manufacturers secrets they don't want you to know.
Maybe some of you already know this and maybe some will benefit from the posting,
Un-do, the little bottle of solution that our scrapbook store used to sell for about $5 (about 1 fluid oz) is really 100%........Drum roll.......Rubber cement thinner.
You can buy a quart can for about 12 bucks and have enough for you and all your cropping friends for years. The little undu bottle is refillable by removing the top. Told to me by a former employee of the manufacturer, and I've been using it for years. Cleans gummy residue off most anything without harm. You can find it at most stationery stores
From Alesia Fowler


Re-New Sheets
Here's something  that you may want to redo mats with called Re-New sheets. Works on all mats. Re-puts glue back on mats with out all the mess. It comes in 5 pack.


Harbor Tools
Here's quick tip for all crafters go harbor  toosl get dental picks  for $2.00 and set of tweezers for $2.00.
Saraoh Frith Fisher

In case you haven't heard about the silicone mat, I highly recommend it. It is under $10, & you put it under your card stock & then put your adhesive on card stock. You can run adhesive off of card stock & the adhesive doesn't adhere to silicone. Love love love it.

Maree Long
How to label you embossing folders
 1. Keep a typed list on publisher and pasted into book and when I need to up date I simply print and change over copy
2.Keep them in expander files in catagories floral, Christmas, exotic, texture, asain, wording, events etc


Robin McCusker Horasanian 
You can buy heat register magnets and cut to whatever size you need.  To hold thin dies on with and cut. I got mine at Lowe's.


Take Paint chips
I have posted this information before, if you are looking for just small pieces of color card I use the paint chips from the hardware store they are great and they don't mind you taking them.....
From Jennifer Pershouse

Really fun to try glittered Stenciling


Glittered Stenciling

by Dina Kowal
Stencil a glittered pattern onto cardstock or a colored image.

Supplies

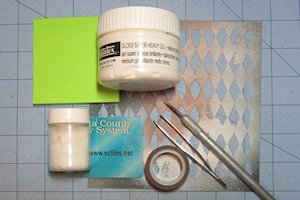
  • Plastic stencil
  • Paper for masking
  • PVA glue, heavy gel medium, or another dimensional medium that dries clear
  • Craft spatula or stiff, straight-edged card for scraping glue
  • Glitter, microbeads, mica powders, etc.
  • Craft knife
  • Tweezers
  • Stamps and other embellishments as needed to complete the project

Step-by-Step

  1. Step 1

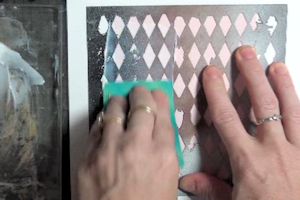
    To make your own glittered cardstock, position a stencil over a cardstock panel and tape it in place.

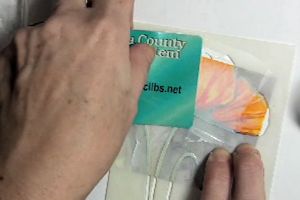
    Put PVA glue or other dimensional medium onto a flat palette. Using a plastic card or other straight-edged tool, scrape the glue through the stencil openings onto a cardstock panel in an even layer.
  2. Step 2

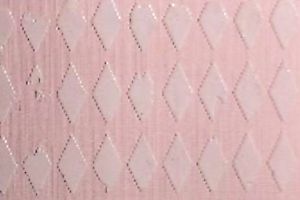
    Lift the stencil carefully to reveal the pattern.
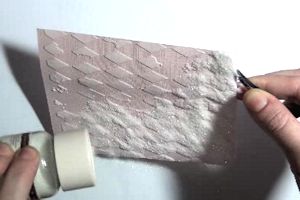
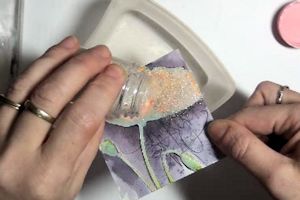
  3. Sprinkle glitter over the glue and allow the panel to dry completely.
  4. Step 3

    Use the finished panel to complete a project.

    In the sample, the glittered cardstock is used as a background for a framed die cut scene (dies by Impression Obsession, stencil by the Crafter's Workshop).
  5. Step 4

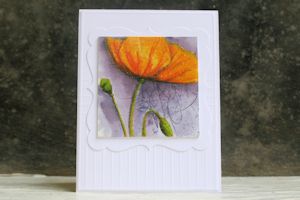
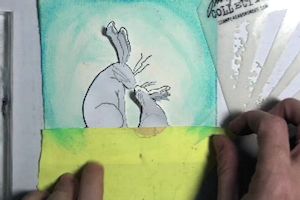
    To apply glitter to one area of a colored image, use a coordinating stencil or die cut (if available), or create a reverse or mortise mask by stamping the image on another piece of cardstock and cutting inside the outline with a craft knife.
  6. Scrape glue through the opening, then remove the mask and apply glitter. Allow the panel to dry completely.
  7. Step 5

    Use the finished panel to complete a project.

    (stamp and stencil by Penny Black)
  8. Step 6

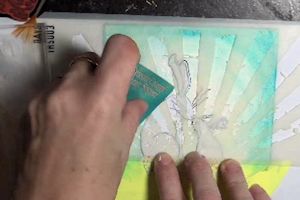
    To add glitter to the background of a stamped scene, mask the image first.
  9. Lay the stencil over the masked image. Scrape glue through the openings.
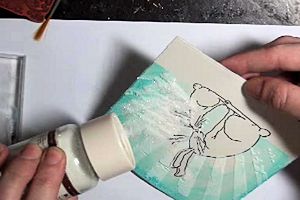
  10. Step 7

    Remove the stencil and apply glitter. Allow the panel to dry completely.
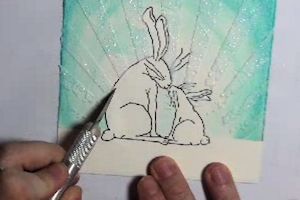
  11. TIP:
    If glue and glitter overlap the stamped lines, gently push them aside with a craft knife before the glue dries.
  12. Step 8

    Use the finished panel to complete a project.

    (stamp image by Artful Stamper, stencil by Tim Holtz)

 From split coast stampers