Accordion File Folder
by AJ Otto
Turn a file folder in a beautiful tag book.
Supplies

- File Folder (8.5" x 11"), left tab
- Three 3 1/4" x 7" pieces of cardstock, Vanilla Cardstock used here
- One 3 3/4" x 7" piece of cardstock, Vanilla Cardstock used here
- Three 3 1/8" x 6 7/8" pieces of colored cardstock , Burgundy and Sage Cardstock used here
- Patterned papers
- Die cuts (optional)
- Corner Rounder
- Sponge
- Scissors
- Adhesive
- Bone Folder
- Embellishments to decorate
Step-by-Step
Step 1
Open the file folder so that the tab is in the top right corner. This is important!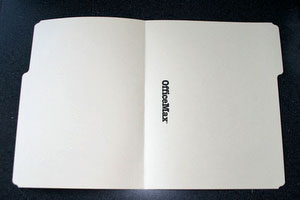
Step 2
Fold the bottom of the folder up about 4" to create the pockets.
When you fold the bottom up, the left side of the folder must match up with the cut out tab.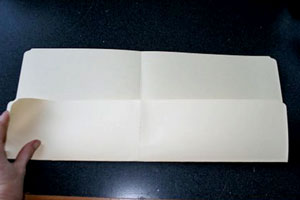
Step 3
Fold the left side toward the center until the straight part touches the center line.
Important: The tabbed portion will overlap the center line. It's okay!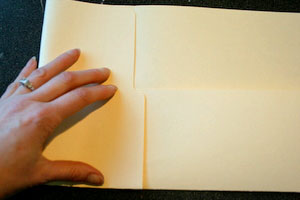
- It should end up lining up like this.
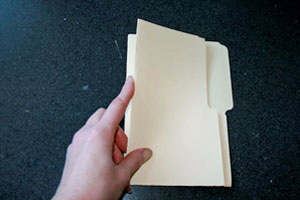
Step 4
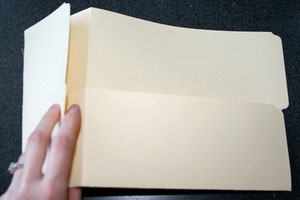
Fold right side over to the left side until the "binding" matches up.
It is very important that the binding of the book lines up evenly.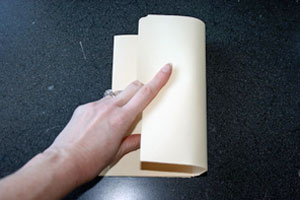
- This is how the spine or binding should look.
Step 5
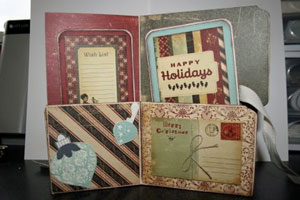
The folder completed and laid out flat ready to embellish.
Notice the farthest right panel is larger than the others. This is how it should be.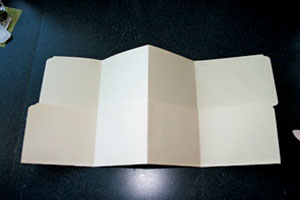
Step 6
Decorate the inner pages.From Splitcoaststampers.com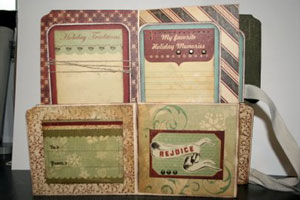
Step 7
Decorate front of folder.


