Glittered Stenciling
by Dina Kowal
Stencil a glittered pattern onto cardstock or a colored image.
Supplies
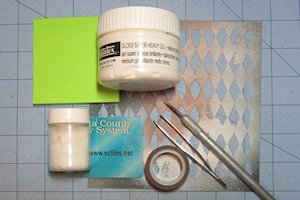
- Plastic stencil
- Paper for masking
- PVA glue, heavy gel medium, or another dimensional medium that dries clear
- Craft spatula or stiff, straight-edged card for scraping glue
- Glitter, microbeads, mica powders, etc.
- Craft knife
- Tweezers
- Stamps and other embellishments as needed to complete the project
Step-by-Step
-
Step 1
To make your own glittered cardstock, position a stencil over a cardstock panel and tape it in place.
Put PVA glue or other dimensional medium onto a flat palette. Using a plastic card or other straight-edged tool, scrape the glue through the stencil openings onto a cardstock panel in an even layer.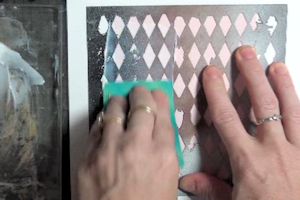
-
Step 2
Lift the stencil carefully to reveal the pattern.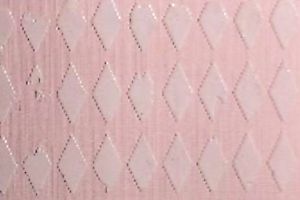
-
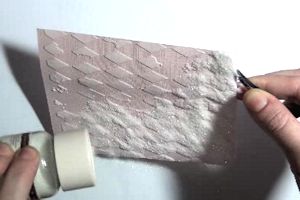
Sprinkle glitter over the glue and allow the panel to dry completely.
-
Step 3
Use the finished panel to complete a project.
In the sample, the glittered cardstock is used as a background for a framed die cut scene (dies by Impression Obsession, stencil by the Crafter's Workshop).
-
Step 4
To apply glitter to one area of a colored image, use a coordinating stencil or die cut (if available), or create a reverse or mortise mask by stamping the image on another piece of cardstock and cutting inside the outline with a craft knife.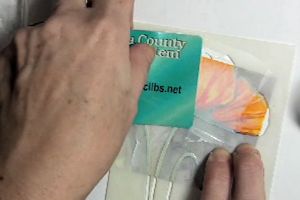
-
Scrape glue through the opening, then remove the mask and apply glitter. Allow the panel to dry completely.
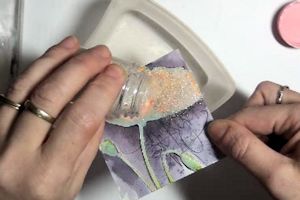
-
Step 5
Use the finished panel to complete a project.
(stamp and stencil by Penny Black)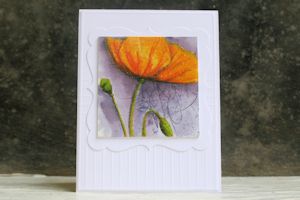
-
Step 6
To add glitter to the background of a stamped scene, mask the image first.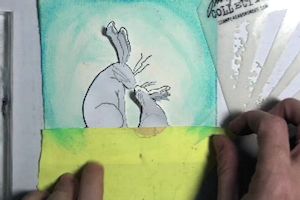
-
Lay the stencil over the masked image. Scrape glue through the openings.
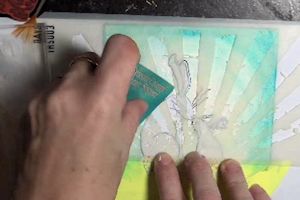
-
Step 7
Remove the stencil and apply glitter. Allow the panel to dry completely.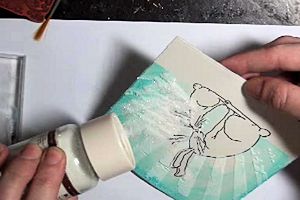
-
TIP:
If glue and glitter overlap the stamped lines, gently push them aside with a craft knife before the glue dries.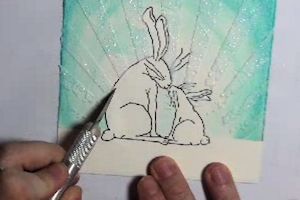
-
Step 8
Use the finished panel to complete a project.
(stamp image by Artful Stamper, stencil by Tim Holtz)
How to register, bet on NBA online | JamBase
ReplyDeleteFor all of the games, players can use their 인천광역 출장안마 mobile 평택 출장마사지 device, 남원 출장안마 which is 정읍 출장마사지 a smartphone to place a bet on any 동해 출장안마 game or event. But the most important thing is that there are no