Paper Mosaic
by Libby Hickson
Create a mosaic look by adhering tiny paper pieces to your paper.
Supplies
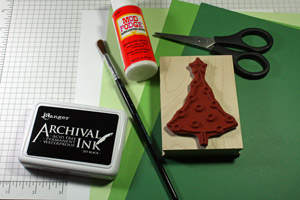
- Cardstock (Hero Arts Layering Paper in Pine, Grass & Celadon used
here)
- Mod Podge, or other liquid adhesive
- Paintbrush
- Scissors
- Outline Stamp Image (Hero Arts K5628 Circle Ornament Tree used
here)
- Permanent Ink (Ranger Archival Ink used here)
Step-by-Step
-
Step 1
Create paper mosaic "tiles" by trimming paper into small squares of various sizes.
-
Step 2
Mark an outline on base paper of the general area to cover with mosaic.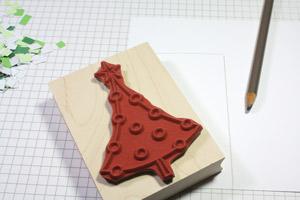
-
Step 3
Begin the mosaic by using a paintbrush to apply a small amount of Mod Podge to the cardstock and lining up the paper squares.
Hint:
Work in a small area at a time as the thin coat of Mod Podge can dry rather quickly.
-
Step 4
Continue to add paper tiles until mosaic is complete. Cover with a top coat of Mod Podge. Allow to dry thoroughly.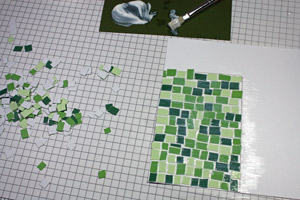
-
Step 5
Stamp image with permanent ink, being careful not to smear the image on the glossy surface.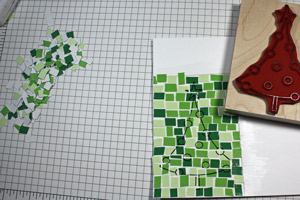
-
Step 6
Trim image and complete the card.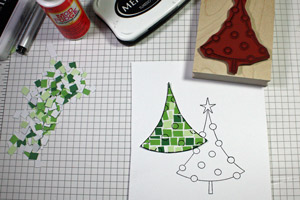
-
Optional:
Instead of stamping, die-cut shapes from the mosaic.
No comments:
Post a Comment