Suspension Card
by Beate Johns
Use simple supplies to create a fun, interactive element for your
cards.
Supplies
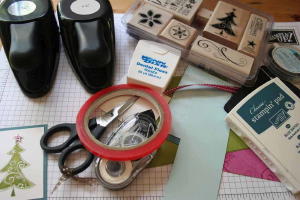
- Dental floss
- 1 1/4" circle punch
- 1 3/8" circle punch
- Cardstock for card base
- Cardstock for layer that your suspended image will be nestled in
- Ink
- Stamps
- Sticky Strip™
Step-by-Step
-
Step 1
Use a 1 3/8" circle punch (or other large shape) to make a window in the cardstock layer.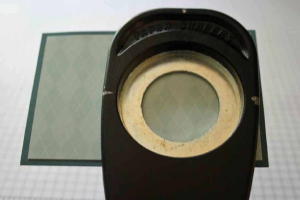
-
Step 2
Position the cardstock layer on the card base and mark where the punched window is.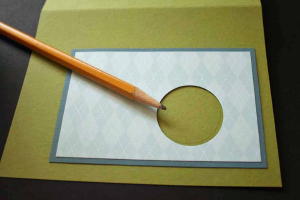
-
Step 3
Punch out a circle on your card base with the same circle punch.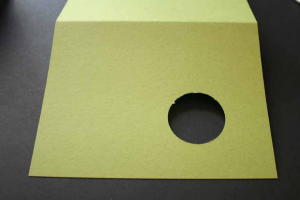
-
Step 4
Stamp two images and punch them out with the 1 1/4" circle punch (or other smaller punch).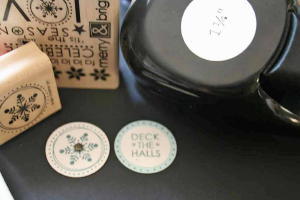
-
Step 5
Apply Sticky Strip™ to the back of both punched images.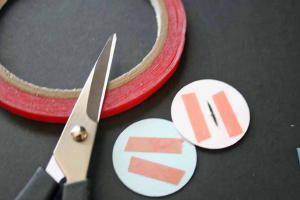
-
Step 6
Apply Sticky Strip™ over and under the punched window on the cardstock layer.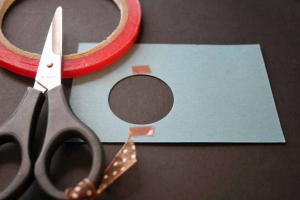
-
Step 7
Tape a piece of dental floss on the backside of your cardstock layer, centering it in the punched opening.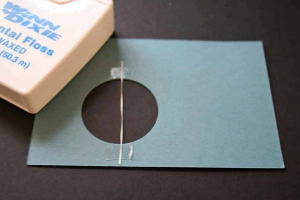
-
Step 8
Take one of the 1 1/4" circle images, center it in the 1 3/8" window and tape it to the dental floss.
Add an extra layer of Sticky Strip™ over the tape holding the floss down. Don't remove the red plastic liner from the adhesive yet.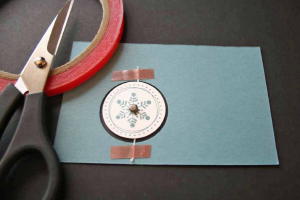
-
Step 9
Flip cardstock layer around. Add second 1 1/4" circle image, line it up with the back of the first image and tape it down.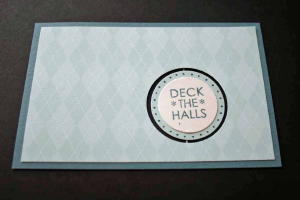
-
Step 10
Apply more adhesive, and adhere cardstock layer to the card base. Make sure the 1 3/8" windows line up.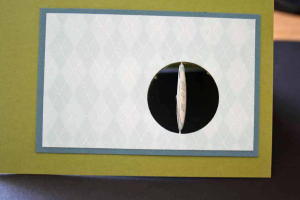
-
Step 11
Finish decorating the card.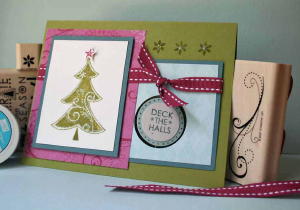
Video!
Variations
-
Shape It Up
Try out different shaped/size punches. Just make sure you have two that are the same shape, just one size different.
Combine It
Try using this suspension on the inside of a tunnel card.
No comments:
Post a Comment