Six-Fold Card
by Monique Trappeniers
Create a special fold card out of one piece of cardstock.
Supplies
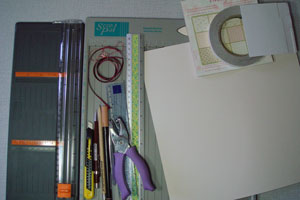
- One 8" x 12" piece of cardstock for card base
- Scor-Pal™ or other scoring tool
- Paper Trimmer
- Patterned paper and additional cardstock, to decorate the card
base
- Adhesive
- Embellishments
Step-by-Step
-
Step 1
Score the 8" x 12" piece of cardstock at 4" and 8" on the 12" side.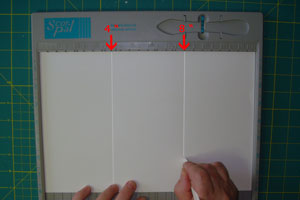
-
Step 2
Turn the cardstock 90 degrees and score the cardstock at 2" and 6".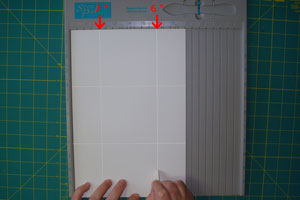
-
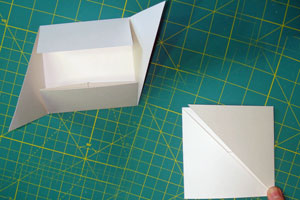
Step 3
Place your cardstock in your paper trimmer with the long side on the cutting groove. Cut off the top and bottom scored panels on the right hand side.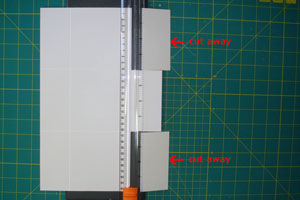
-
Step 4
Between the first and the second vertical score line you see three equally scored squares on your cardstock.
Cut both outside squares diagonally in the same direction, as indicated on the photo (one triangle is now cut away).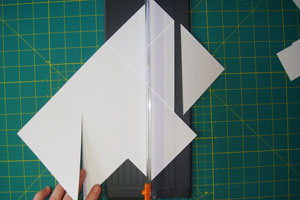
-
Step 5
On the first vertical score line we now make 2 cuts on the top and the bottom.
This creates 2 small flaps on the left side, and it cuts away another triangle at the bottom.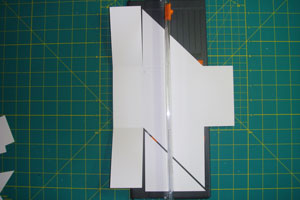
-
Step 6
Rotate the cardstock 90 degrees left, and cut away half of the flaps created in the previous step.
Your base is now ready to fold. If you wish you can sponge all edges.
Click HERE for a Diagram that shows all the cuts and folds of this card.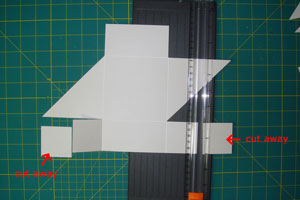
-
Step 7
Fold the two outer squares in and over. Fold the rectangle above the center square down.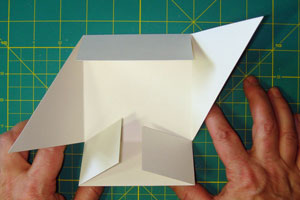
-
Fold the triangles in.
-
Step 8
Decorate your card base with extra cardstock and/or patterned paper.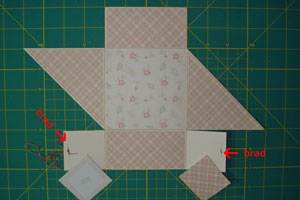
-
Step 9
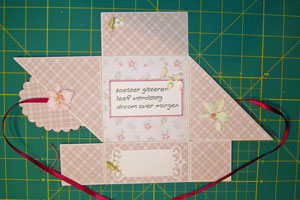
Fold your card again.
Cut a piece of ribbon and place it around your card.
Take the main image (in this example some 3D mounted flowers on pink cardstock cut with a scalloped oval Nestabilities dies), and attach it together with the ribbon on ONE of the top triangles.
Tip :
Mark carefully where the adhesive should be on the back of the main image : you don't want to glue the 2 top triangles together !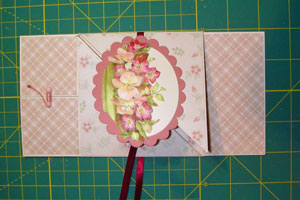
-
Step 10
Your six-fold card is finished and measures 4" x 4" when it's closed.
-
No comments:
Post a Comment