Circular Side Step Card
by Beate Johns
Create a circle card with several steps on one side.
Supplies
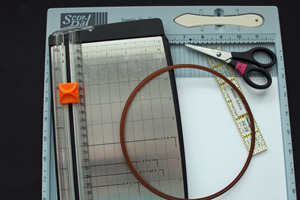
- Cardstock for card base
- Circle die, or plate to trace circle
- Paper cutter
- Scor-Pal™, or other scoring tool
- Ruler (optional)
- Scissors
- Patterned paper (optional)
- Stamps, The Greeting Farm's Ebony and Tea-rrific used here
Step-by-Step
-
Step 1
Cut cardstock into a circle.
The second largest Grand Circle Nestabilities die was used here to cut the cardstock into a 6 3/4" circle. If you don't have Grand Circle dies, you can use a plate, trace around it and hand cut with scissors.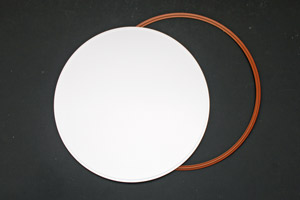
-
Step 2
Place circle on the paper cutter on the 2 1/2" mark. Make a cut from 1 1/4" on one side to 1 1/4" before the end of the other side.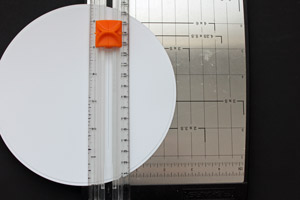
-
Step 3
Place the circle on Scor-Pal™ with the cut line horizontally. Score the circle from the cut down to the smaller part of the circle at 1 1/4", 1 3/4" and 2 1/4".
Hint:
Line up a ruler on one side of the scoring tool above the cut to make sure the score lines will be 90 degrees.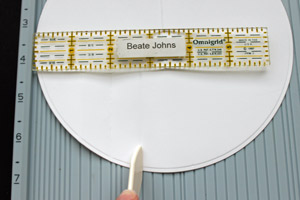
-
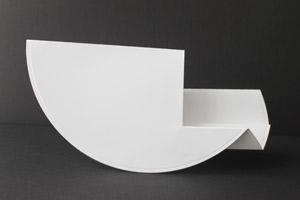
Step 4
Score the first step by folding the first score line down, the second score line up.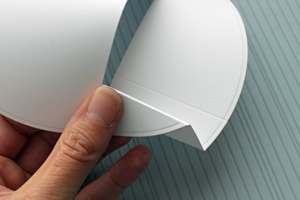
-
Step 5
Find the center of the circle. Try to line up the step scores parallel to the center line of the circle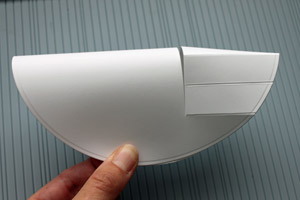
-
before you score the entire circle in half.
Hint:
You can only score the entire circle in half if you are using the same circle size (6 3/4") as me. If not, just score the large part of the circle (the one without the steps)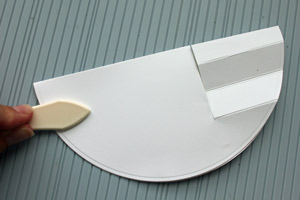
-
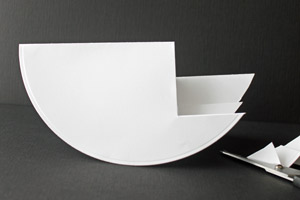
Step 6
Now fold the second step down and pinch the circle half together again. This will help you find the back fold for that third step. Crease the fold with your score tool.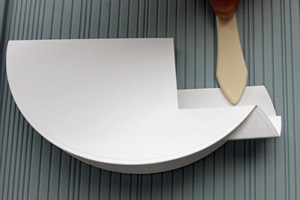
-
-
Step 7
To keep the round shape on the edges of your fold, pinch the card together and cut off the excess.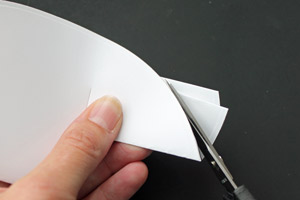
-
-
Step 8
Decorate with patterned paper, stamped images and embellishments.
Hint:
I cut and embossed my patterned paper with the same die as the card base. The edges were sanded and cut on the embossed edge. For the cuts on the right hand side I placed the paper over the card base and used a stylus to trace the cut lines. Next I cut 1/8" along that traced line.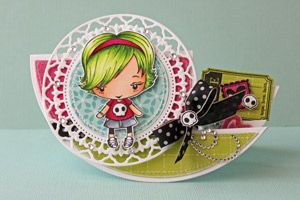 Article's From Split Coast Stamper and Photos.
No comments:
Post a Comment