Pointillism
by Allison Cope
Color and shade an image using tiny dots.
Supplies
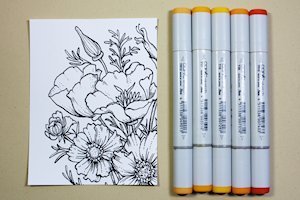
- Sturdy, smooth cardstock
- Printed digital stamp, or rubber stamp image stamped with dye ink
(Power Poppy digital stamp used here)
- Markers (Copic alcohol markers used here; water-based markers may also be used)
Step-by-Step
-
Step 1
Print a digital stamp image, or rubber stamp an image onto some smooth, sturdy cardstock.
HINT:
Use a dye ink for stamping any image you are going to color with alcohol markers. Memento brand is recommended.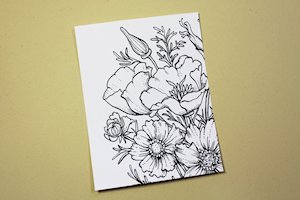
-
Step 2
Gather a minimum of three markers to color the image with. Five Copic colors were used in this example (lightest to darkest: Y19, Y17, YR12, Y38, YR18) . Try using a light, medium and a dark tone of the same color.
Beginning with the lightest color, hold the marker straight up and down and apply small dots to the image. For more concentrated color, apply the dots closer together. For a lighter or highlighted area, use dots applied wider apart. Let each layer of dots completely dry between applications so you do not blend them together.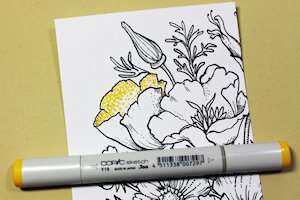
-
Step 3
Grab the next darkest color of marker and begin to overlap your dot application. You can use different sizes of dots to get the desired coverage of your image, but try to keep them fairly small.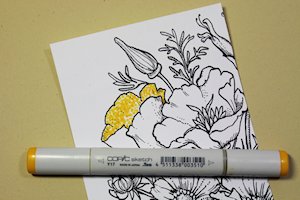
-
Step 4
Apply the third color. Begin to deepen the color of the areas that appear shaded.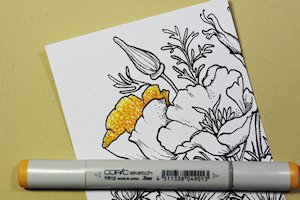
-
Step 5
Apply the fourth tone of marker. Concentrate these darker shades of color in the areas of shade and shadow. The more dots you apply to one area, the richer and darker the tone will appear.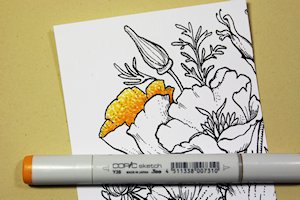
-
Step 6
Apply the final and darkest color of marker. Try using a cluster of many tiny dots to allow your lighter shades of color to show through if desired.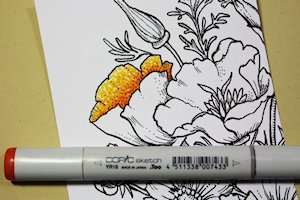
-
Step 7
Continue coloring using the concepts shown above.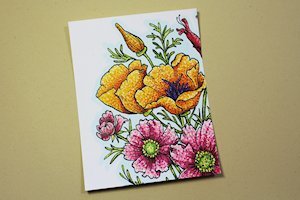
-
Step 8
Decorate the card as desired.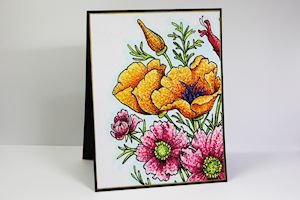
Video!
From Splitcoast stampers.com
No comments:
Post a Comment