Stamp Etching
by Lydia Fiedler
From Splitcoast Stampers.com
Use a fine-tipped black pen to give your stamped images the look of classical
etchings.
Supplies
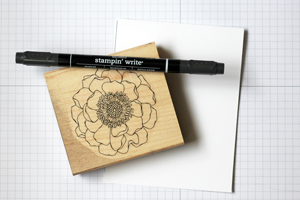
- Open line-art stamp image (Stampin' Up!'s Blended Bloom used
here)
- Black marker or pen with a fine tip
- Cardstock (a smooth cardstock is
best)
Step-by-Step
-
Step 1
Begin by stamping an open line art stamp in black ink on smooth white cardstock.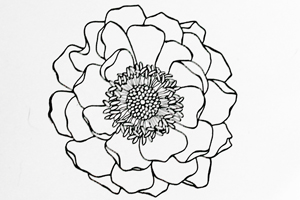
-
Step 2
Using a fine-tipped marker, begin to make tapered lines within the stamp image with a light flicking motion - lifting the pen off the paper towards the end of your line. The line should be thinner at the end than it is where it started.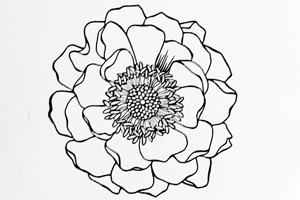
-
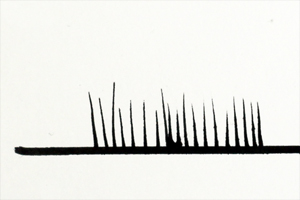
Practice by drawing a straight line on a scrap. Put your pen down on the line briefly and then as you draw a quick line, lift the tip of the pen up off the paper towards the end of the line.
-
Step 3
To add a little shading, do a second, shorter group of lines at the base of the first.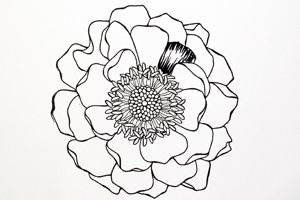
-
Step 4
Continue until your image is completely filled.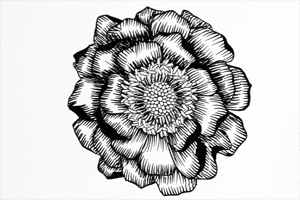
-
Step 5
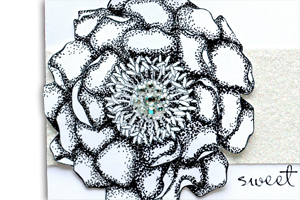
For variations on this technique, try cross-hatching... -
or stippling.
-
Step 6
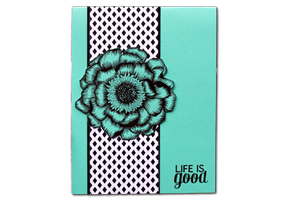
Use your image on a finished project.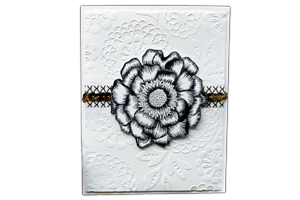
-
Try this technique on colored cardstock, too.
No comments:
Post a Comment