Blender Pen Highlights
by Kathy Racoosin
Learn to use a blender pen and distress marker to add shading to your
images.
Supplies
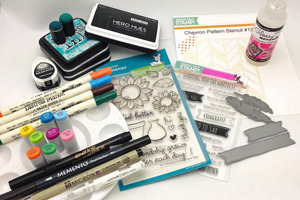
- Outline Stamp Images, Lawn
Fawn Friendship Grows used here
- Black Ink, Tuxedo Black Memento Ink used here
- Alcohol based Markers, Copic Markers YG23,YG45, YR16, Y18, B12, B16,
RV13, RV19 used here
- Distress Markers, Ripe Persimmon, Salty Ocean, Pine Needles, Gathered
Twigs used here
- Water-Based Blender Pen, Dove
Blender Pen used here used here
- Glossy Accents
- White Gel Pen
- Black Micron Pen
Step-by-Step
-
Step 1
Stamp images with Memento Tuxedo Black ink. Add a line with a dark pink alcohol marker onto the petals.
Note:
This is an ink for coloring with alcohol markers & NOT recommended for water color markers but, it's works if you are careful.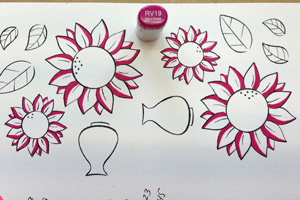
-
Step 2
Color on top of the dark pink marker with a lighter color pink. This will soften the hard line on the petals.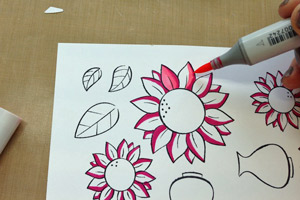
-
Step 3
Add a medium yellow color to the flowers center.
Note:
This photo shows dots of the colors selected to use on the images for an easy reference.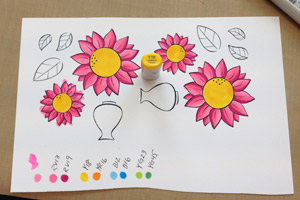
-
Step 4
Add a darker color of yellow for the flowers center overlapping the lighter yellow color.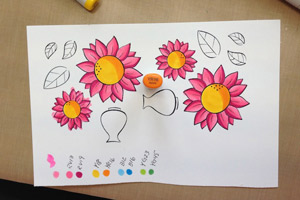
-
Step 5
Add some lines to the leaves with a medium green marker and continue to color the leaf with a lighter color.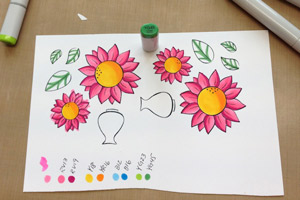
-
Step 6
Repeat with blue markers to color the vase.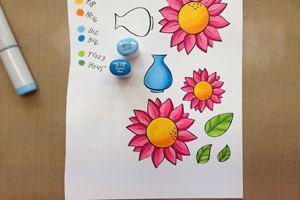
-
Step 7
This is the fun part.... Add some pretty highlights to your stamped images by using Distress Markers with a Dove Blender pen.
Note:
Since Distress Markers are water color markers you must be careful to not apply to much color. Always stamp an extra image to test what color distress markers you like best and or practice before adding color to your image. (This flower was tested using 3 different shades of blue and orange to see what would yield the desired look).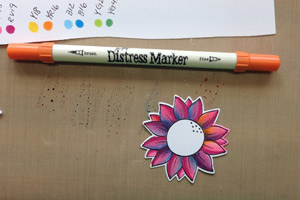
-
Step 8
Scribble theDistress Marker into a palette or onto a craft sheet. Pick up some of the orange color from the palette with the Dove Blender. Add the color from the Dove Blender to your petals giving them an orange wash. One time is a charm. If you over color your paper will begin to pill.
A FEW TIPS FOR BEST RESULTS USING A DOVE BLENDER PEN:
1. The dove marker Is being used instead of using a paint brush or a water brush. When water isn't being applied it's easier to control the color added to the images. A Dove Bender works great with most colored pencils as well.
2. If you have a heavy hand when coloring use a heat tool and try on the back of the image between colors so your paper doesn't become to saturated.
3. Aways scribble off the color from the tip of the Dove Blender on some scrap paper before switching colors just like you would do with a paint brush.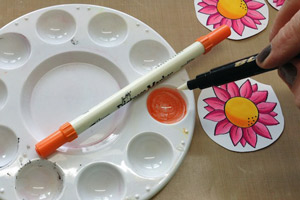
-
Step 9
Scribble a dark blue Distress Marker into the palette. Pick up a dab of the color on the tip of the Dove Blender. Add the blue starting in the corner of the petal and working your way along side of the petal to keep a shaded look on the petal. If the petal becomes to dark make a note to self to pick up less color on the tip of the Dove blender or scribble some color off on a scrap sheet of paper first before blending onto the petal.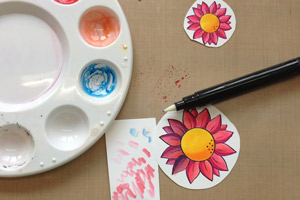
-
Step 10
Add some brown Distress Marker to the flowers center.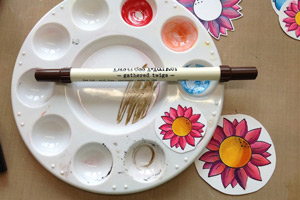
-
Step 11
Take the small tip of the Distress Marker adding many teeny tiny dots in the cracks of the flowers to add some extra highlights to the petals.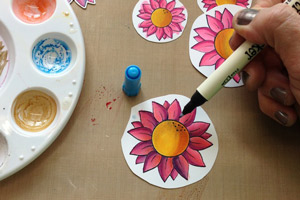
-
Step 12
Dry your image with a heat tool on the back to be sure that its dry.
A FEW TIPS FOR BEST RESULTS USING A WHITE GEL PEN.
1. Adding some white pen accents on any image really enhance your overall project & always practice on scrap paper first.
2. For best results with the gel pen place a dot on your finger and be sure to let the white dot "pool" on your finger. This way you know the pen is flowing nicely and is ready to go.
3. If you feel that you added to much white pen on your image you can hid some of the white by coloring on top or use a black permanent marker (depending on where the white was added on the image).
4. Trace around the white gel accents you placed on your image with a Micron .01 marker.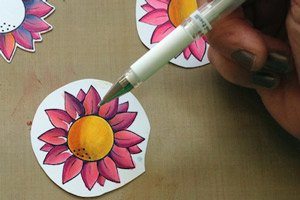
-
Step 13
Add some white around half of the dots on the flowers center. Trace around the white with a Micron .01 marker. This extra step will really make the white accents really stand out. However, you might be happy skipping this step. Use the black marker to enlarge the small black dots in the flowers center.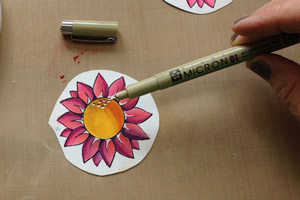
-
Step 14
Cut your flower out and bend the petals upward gently. (This particular flower has a die cut for quick results.) Add Glossy Accents to the centers of the flowers. Set aside to dry for a few hours or overnight.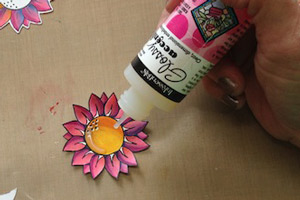
-
Step 15
Cut some white card stock 4.25 x 5.5. Use washi tape to hold the stencil from Simon Says Stamp onto your craft sheet. Using a dauber blend some distress inks around the stencil.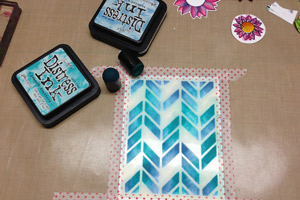
-
Step 16
Using a ruler draw a black line to around the pattern with a Micron pen. Wipe the ruler clean between each line so you don't' get any smears on your card. Stamp lines on the blue vase and add some dots with the Gel Pen.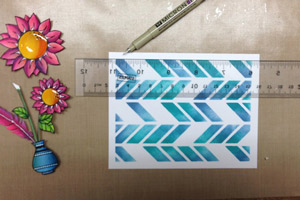
-
Step 17
Add some faux stitching around the black line for some extra detail. Die cut the sentiment banner from Simon Says adding a bit color with the Dove Blender. ts behind the images for dimension . Add to your card base.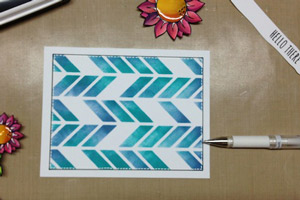
-
Step 18
Stamp the sentiment with Hero Arts Black Die ink. Die cut the feather from Simonsaysstamp and color the same way as the flower adding blue highlights and a white line down the center. Layer your images and use pop do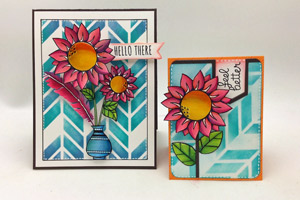
Video!
From www.splitcoaster stampers.com
No comments:
Post a Comment