Pull-Tab Slider Card
by Julie Masse
Pull a sliding tab to animate your card and reveal a message.
Supplies
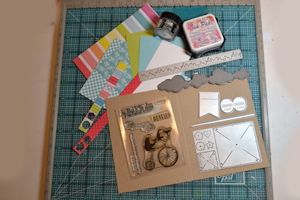
- Cardstock
- Ink
- Stamps – a focal image and sentiment stamp(s) (TCP Besties clear set used here)
- Slot and circle dies, or ruler and craft knife (TCP CutUps Slider die set used here)
- Adhesive (Glue Dots and foam dimensionals used here)
- Other stamps, dies and embellishments as needed to complete the project
Step-by-Step
-
Step 1
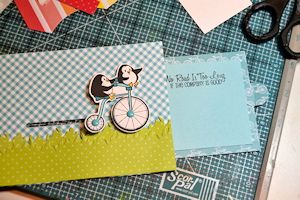
To prepare the sliding panel, cut cardstock to 3.25" x 5". Die cut a pull tab from cardstock, then fold the piece in half and adhere the open side to the edge of the panel. Stamp a sentiment on the panel if desired.
Note:
To create a pull tab with a small circle die, fold a small piece of cardstock in half. Position the die so one side slightly overlaps the fold. Cut as usual.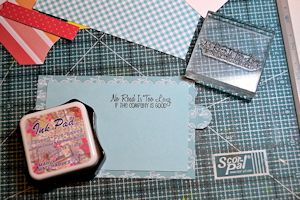
-
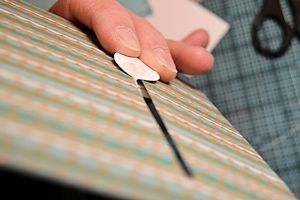
Step 2
Cut a slider slot in the card front. The slot for the sample is approximately 1/4" wide by 3.75" long. The cut can be horizontal or vertical.
Hint:
If using a die, use a bit of low-tack tape to hold it in place for cutting. If you don't have a die, cut the slot with a craft knife.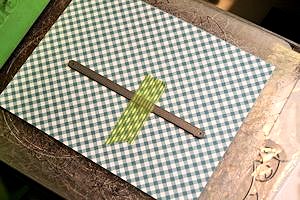
-
Step 3
Die cut another tab from cardstock. Run a line of adhesive up the center, and fold the tab in half to align the circles. Fold across, then turn the sides back to form an “I” shape.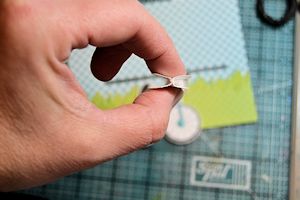
-
Step 4
Stamp, color, and cut out the focal image of the card. Adhere one side of the tab to the back of the image using a glue dot.
Note:
Be sure that the center of the slider tab is oriented to the direction in which the image should slide.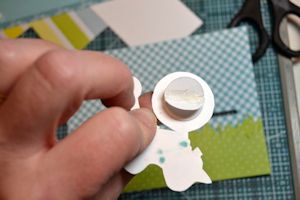
-
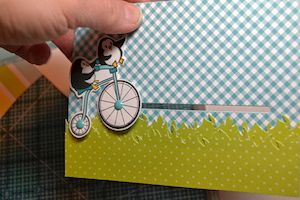
Fold the other side of the tab in to insert it through the slot. Lay the tabs flat.
-
Step 5
Align the slider and sentiment panels, and adhere the back of the slider tab to the sentiment panel.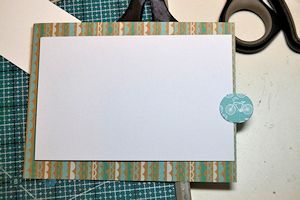
-
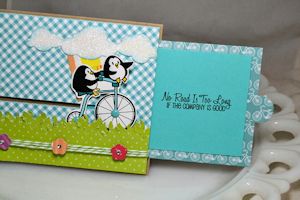
You will now be able to slide the image back and forth using the pull tab.
-
Step 6
Add foam dimensional adhesive to the back of the card front around 3 sides of the sentiment panel, leaving the end with the tab free of adhesive.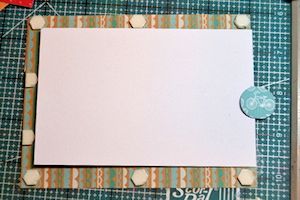
-
Step 7
Adhere the panels to the card base. Embellish as desired to complete the card.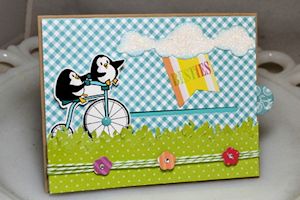
Video!
From www.splitcoaststampers.com
very cute
ReplyDelete