Telescoping Image
by Holly McMillen
Cut image several times and layer them on top of each other to create a
unique look.
Supplies
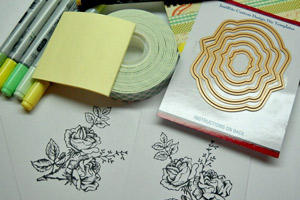
- Nesting Dies (four consecutive sizes)
- Image that fills largest die
- Ink
- Dimensionals
- Post–It® Notes or similar repositionable tape
- Supplies to finish card/project
Step-by-Step
-
Step 1
Stamp image twice and color (if needed)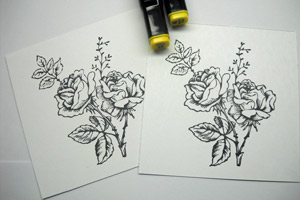
-
Step 2
Position largest die over one of the images. Use the post-it note to hold it in place.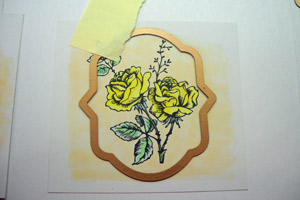
-
Step 3
Line up the 2nd and 3rd largest dies on the same image.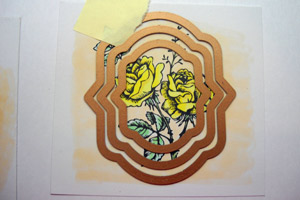
-
Holding down the middle die, gently pull the 2nd die away and affix the center die with a Post-It note. Run this through your die cut machine.

-
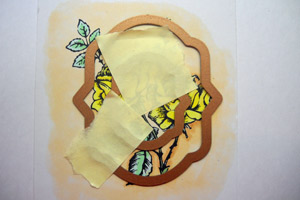
Step 4
Position the largest die over the second image. Line up the 2nd, 3rd and 4th dies inside.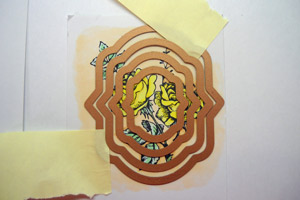
-
Carefully remove the largest die and the 3rd die and tack down the remaining two dies with post-it notes. Run this through your die cut machine.
-
Step 5
Stack the four die cut pieces using dimensional adhesive.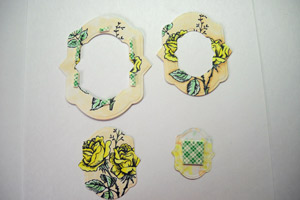
-
Step 6
Complete your card/project.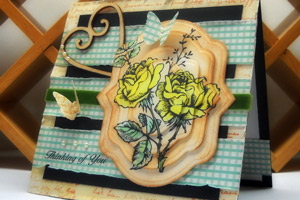 Spilt Coast Stamper Article and Picture's
No comments:
Post a Comment