Quilling
by Lydia Fiedler
Learn the basic techniques of paper quilling.
Supplies
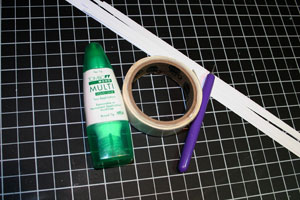
- Quilling tool (Quilled Creations tool used here)
- 1/4" x 11" strips of quilling paper or copy paper
- Mini glue dots
- Liquid glue
- Cardstock and embellishments
Step-by-Step
-
Step 1
Insert one end of the copy paper or quilling paper into the slot in the quilling tool.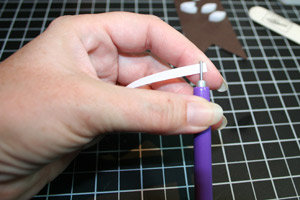
-
Step 2
Slide the tool as close to the end of the paper strip as possible and begin rolling the paper around the tool.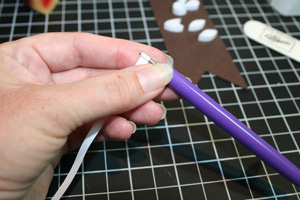
-
Step 3
Keep pressure on the coil of paper while rolling it to keep the coil tight and even.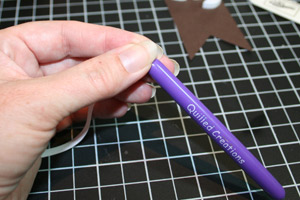
-
Step 4
When you come to the end of the paper strip, keep pressure on the coil.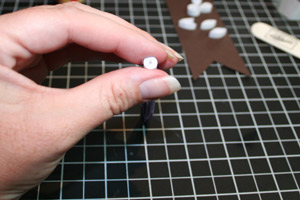
-
Step 5
Gently slide the coil off the quilling tool, keeping pressure on the paper.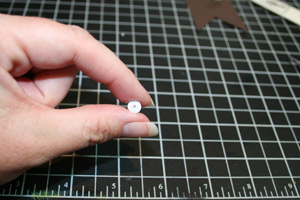
-
Step 6
Relax your grip a bit to let the coil expand to the size you want.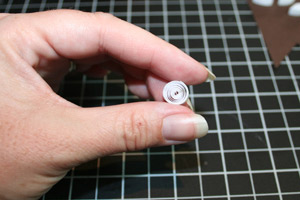
-
Step 7
Where the cut tail of the paper is, pinch the shape to form a point. Adjust the "eye" of the coil to the desired position before crimping a point into the paper. Be sure the tail lines up with the point.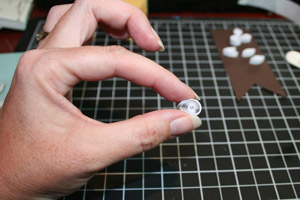
-
Step 8
This is what your quilled petal will look like before you glue the tail down.
-
Step 9
Add a little liquid glue to the tail and glue it to the quilled shape, lining up the edges carefully.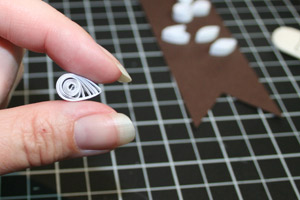
-
Step 10
Pick up a mini glue dot with the "eye" portion of the the quilled shape.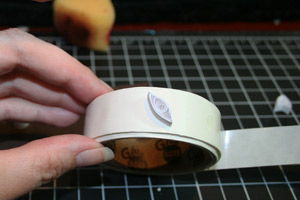
-
Step 11
Adhere the quilled shape to cardstock.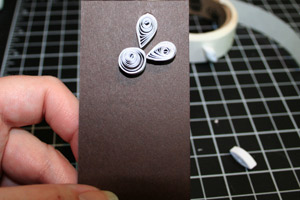
-
Step 12
Use the quilled shape on a completed card.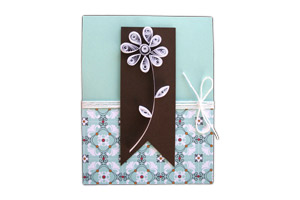
No comments:
Post a Comment