Glitter Highlighted Embossing
by Mary Anne Walters
Add glitter over dry embossed card stock to create a sparkly background.
Supplies
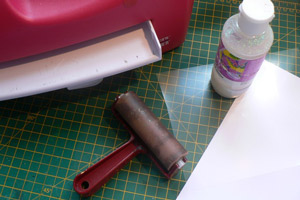
- Glitter gel/glue
- Embossing folder
- Die cutting machine
- Rubber Brayer
- Card stock
- Piece of acetate
- Plain paper
- Reposition able adhesive
- Paper Cutter
- Small Paint Brush
- Flat Brush, optional
Step-by-Step
Step 1
A word about the embossing folders:
Pick a folder with an edge to edge all over pattern, without wide open areas. These are good folders: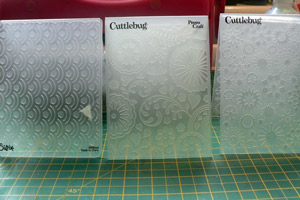
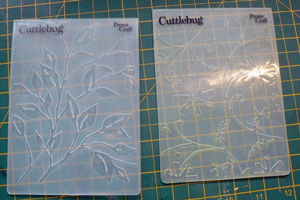
- These are less good - when brayering over the embossing, the brayer is more likely to apply the glitter into the wide open areas.
Step 2
Apply reposition-able adhesive to the inside back of the embossing folder. Stick thecard stock to be embossed to the folder. Run through your die cut machine to emboss.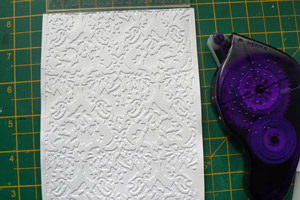
Step 3
Squeeze out a good blob of glitter gel onto the acetate.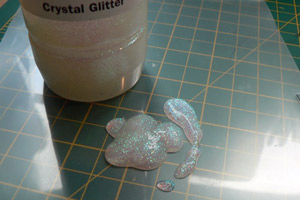
- Roll the brayer over it to load it with glitter gel.
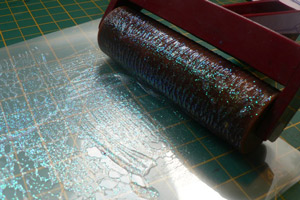
Step 4
Quickly roll the brayer onto the plain paper to smooth out the glitter gel. You want a thin coating, with no obvious blobs on the brayer.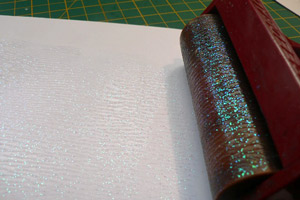
Step 5
With the embossed piece still in place in the folder, with a VERY light touch, roll the brayer over the raised embossing.
DO NOT put too much pressure on the brayer, to keep the gel just on the raised areas. Two light coats are better than one thick coat!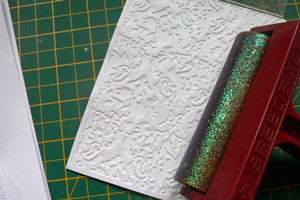
Step 6
If the gel slips into to recessed areas, you can whisk it away with a small paintbrush while it is still wet.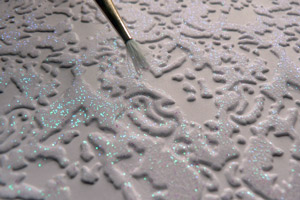
- Let it dry. This is what you will have:

Step 7
Gently remove the piece from the embossing folder. Trim the edges just to the edge of the embossing.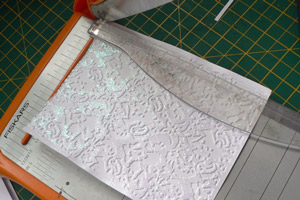
Step 8 (Optional)
For a nice finish, squeeze out another blob of glitter gel onto your acetate. Load a wide flat brush (a fan brush is great for this) with glitter gel.
Step 9 (Optional)
Holding the brush upright against the edge, drag it DOWN to lay a thick coating of glitter gel along the edge.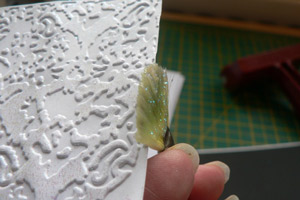
- Set aside to dry. This will take some time, as the coating should be thick.
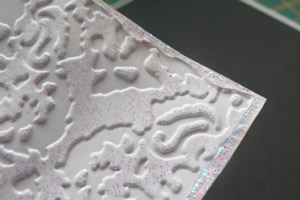
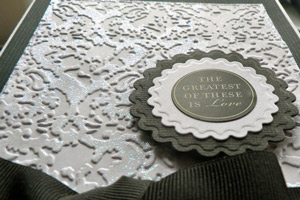
Step 10
Finish your card.From Spilt Coast Stampers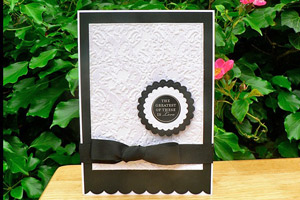
No comments:
Post a Comment